Project64 controller setup takes only a few minutes, and the right mapping makes Nintendo 64 games far more comfortable to play. The emulator supports keyboard input and many PC-compatible gamepads, and you can assign every N64 button to keys or controller buttons that suit your hands and your favourite games.
Connecting Your Controller to Windows
Windows needs to recognise the controller before Project64 can use it. Most USB and Bluetooth gamepads install automatically, and you can confirm detection through the Game Controllers panel in Windows, where the device should appear and respond to button presses.
- Plug in a USB controller or pair a Bluetooth gamepad through Windows settings.
- Open the Windows Game Controllers panel to confirm detection.
- Test buttons and sticks in the panel before opening the emulator.
- Connect the controller before starting Project64 for reliable detection.
Opening the Input Settings
Controller options live in the emulator’s settings, where the input plugin handles button assignment. The default input plugin varies between versions, and some players prefer alternatives such as N-Rage input plugins for broader gamepad and XInput options.
Each N64 controller port can be configured separately. Port one is used for single-player games, while additional ports matter for multiplayer titles that support two to four players.
Mapping the Nintendo 64 Layout
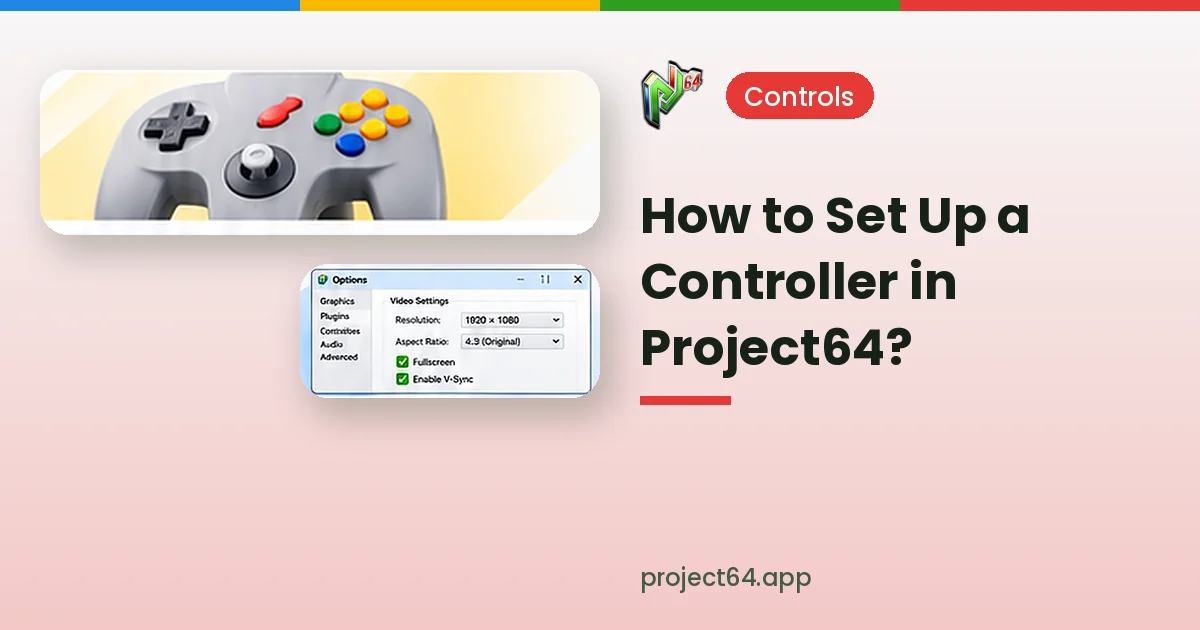
The N64 controller has an unusual layout, with an analogue stick, a D-pad, A and B buttons, four C-buttons, shoulder buttons and a Z trigger. Mapping these thoughtfully onto a modern gamepad keeps games playable and comfortable during longer sessions.
| N64 Button | Suggested Gamepad Mapping |
|---|---|
| Analogue stick | Left stick |
| A / B | Bottom and left face buttons |
| C-buttons | Right stick directions |
| Z trigger | Left trigger |
| L / R | Left and right shoulder buttons |
| Start | Start or Menu button |
| D-pad | D-pad |
Tuning the Analogue Stick
Modern sticks often have a larger range than the original N64 stick. Adjusting the range or sensitivity setting, where the input plugin offers it, helps movement feel natural and prevents characters from running when you only intend to walk.
A small dead zone stops drift on worn controllers. Test movement in a game with precise platforming to confirm the stick responds the way you expect.
Playing With a Keyboard
Keyboard play works well for many games, especially menu-heavy titles or games without precise analogue movement. Assign movement to arrow keys or WASD and spread the action buttons across nearby keys so you can reach them without moving your hands.
- Use WASD or arrow keys for the analogue stick directions.
- Place A and B on keys close to your right-hand fingers.
- Assign C-buttons to a cluster such as I, J, K and L.
- Keep Start on Enter for easy pausing.
Using an Original N64 Controller
Original Nintendo 64 controllers need a suitable USB adaptor to connect to a PC. Once connected, the adaptor typically appears as a standard gamepad, and you can map its buttons in the same way as any other controller.
Worn analogue sticks on older controllers may feel loose. Adjusting the dead zone and range helps compensate, although a replacement stick may be needed for very worn hardware.
Fixing Common Controller Problems
Most controller problems come from detection order, a wrong device selection or an input plugin mismatch. Checking these points in order usually resolves the issue quickly without reinstalling the emulator.
| Problem | Suggested Fix |
|---|---|
| Controller not listed | Reconnect it and restart Project64 |
| Buttons do nothing | Select the correct device in input settings |
| Character moves alone | Increase the dead zone slightly |
| Wrong button layout | Remap buttons and save the profile |
| Second player not working | Enable and configure the second controller port |
Setting Up Multiplayer Controllers
Multiplayer N64 games support up to four controllers. Each player needs a separate controller connected to Windows, and each one must be assigned to its own port in the input settings before starting the game.
Matching controllers make mapping easier, because you can copy the same layout across ports. Mixed controllers work too, but each one may need its own button assignments.
| Port | Typical Use |
|---|---|
| Controller 1 | Single-player and player one |
| Controller 2 | Second player in multiplayer games |
| Controllers 3 and 4 | Four-player party and racing games |
Controller Paks and Rumble Options
Some N64 games used accessories such as the Controller Pak for saving or the Rumble Pak for vibration. Input plugins may let you choose which accessory each emulated controller uses, depending on the plugin and version.
- Select Memory Pak for games that save to the Controller Pak.
- Select Rumble Pak for vibration on supported gamepads.
- Leave the accessory empty if a game does not use one.
Saving and Reusing Your Mapping
Once your layout feels right, saving it as a profile prevents having to repeat the work. Profiles also help when switching between a keyboard and a gamepad or when sharing a computer with someone who prefers different controls.
Keep a quick note of your favourite mapping as well. If you reinstall the emulator or move to another computer, the note makes rebuilding the layout much faster.
Testing Your Setup in a Game
A short test session confirms that every button works as intended. Try walking slowly, running, moving the camera with the C-buttons and opening menus to make sure nothing feels awkward before starting a longer session.
Choosing a Gamepad for N64 Games
Most modern gamepads work well, though layouts differ. Controllers with a comfortable right stick make C-button mapping easier, while a responsive left trigger suits the Z button that many N64 games rely on heavily for aiming and shielding.
Keeping Controllers in Good Shape
Firmware updates from the controller manufacturer can fix connection and drift issues. Charging wireless controllers fully before long sessions also prevents sudden disconnects that might interrupt gameplay or cause missed inputs during tricky sections.
Conclusion
Project64 controller setup comes down to three steps: confirm Windows detects the device, map the N64 layout in the input settings and fine-tune the analogue stick. Keyboard play remains a solid alternative. Pair this with our graphics plugin guide and visit the download section to get started.